Elizabeth
Mia
Deliberation
Flower Power
Stance
Discovery
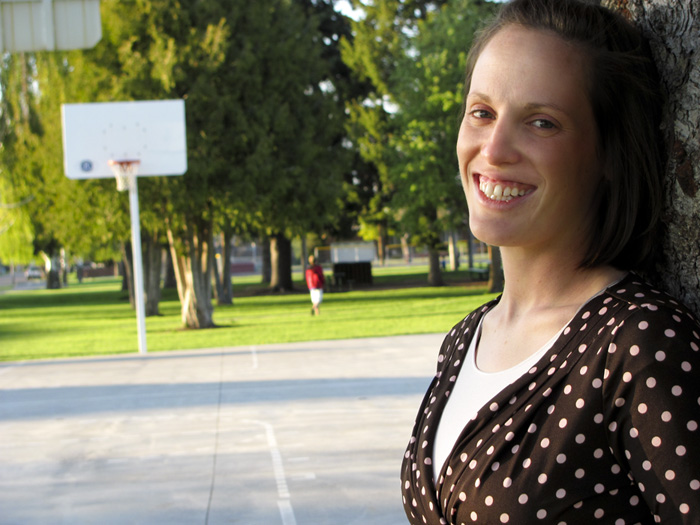
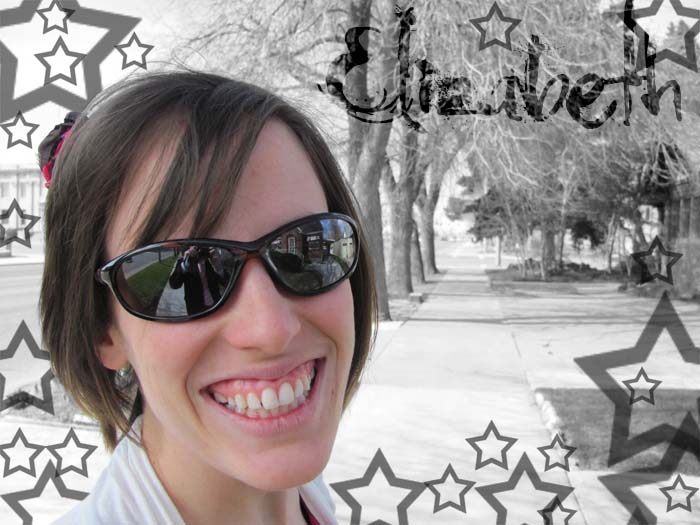
Elizabeth
Front Yard at 35 S. 2nd E, Rexburg, Idaho; May 22, 2011, 7:57 p.m.
[Manual] F/3.5 SHUTTER: 1/100 ISO 100 Canon Powershot SX120 IS
Using spot metering and manual settings, I captured the original image. In Camera Raw I increased brought back some of brightness and vibrancy that was there when I took the shot. I also softened some of the lighting on Elizabeth’s face and balanced out the evening shadows that were falling across her face.
In Photoshop I proceeded to spot heal minor blemishes and apply a simple airbursh (30 percent opacity/38 flow) to further soften and even facial colors and features. To adjust specific areas of contrast, I applied a separate layer of black and white paint set with a soft light blending mode. There was also a tooth on the right-hand side of the face that for whatever reason caught a really crazy yellow light and was rather discolored. Using clone stamp and the soft light layer mentioned above, I made some adjustments.
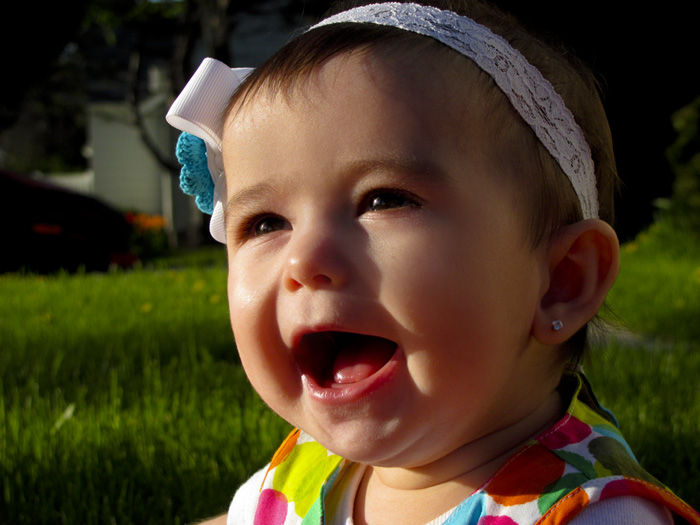
Mia: Head & Shoulders
Front Yard at 35 S. 2nd E, Rexburg, Idaho; May 22, 2011, 7:17 p.m.
[Manual] F/3.5 SHUTTER: 1/1250 ISO 100 Canon Powershot SX120 IS
Being that Mia is ridiculously cute, it didn’t take much by way of adjustments to arrive at it’s current state. Using Camera Raw, I increased the vibrancy and saturation slightly. In photoshop I applied a slight airbursh to smooth features.
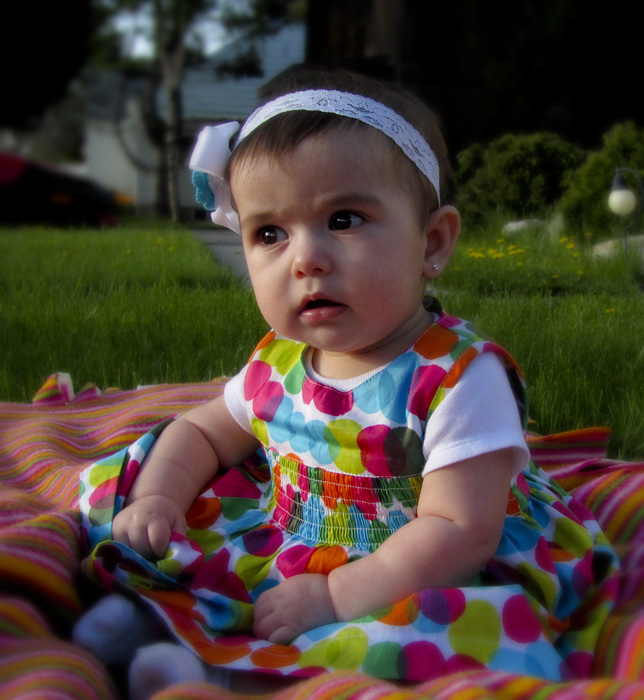
Deliberation: Full Body
Front Yard at 35 S. 2nd E, Rexburg, Idaho; May 22, 2011, 7:15 p.m.
[Manual] F/3.5 SHUTTER: 1/640 ISO 100 Canon Powershot SX120 IS
I only made minor adjustments to this photo in Camera Raw. I focused my efforts on getting the right balance of Gaussian blur in Photoshop.
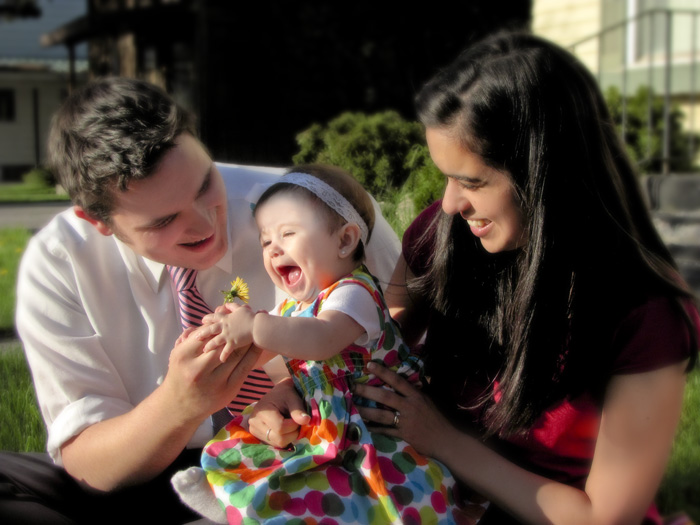
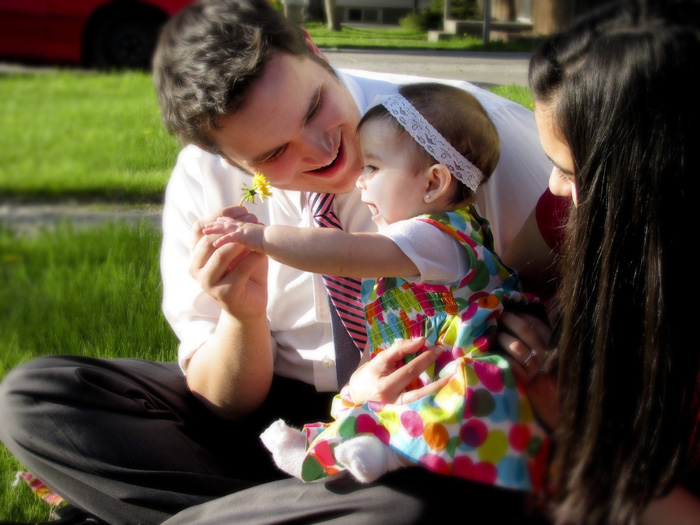
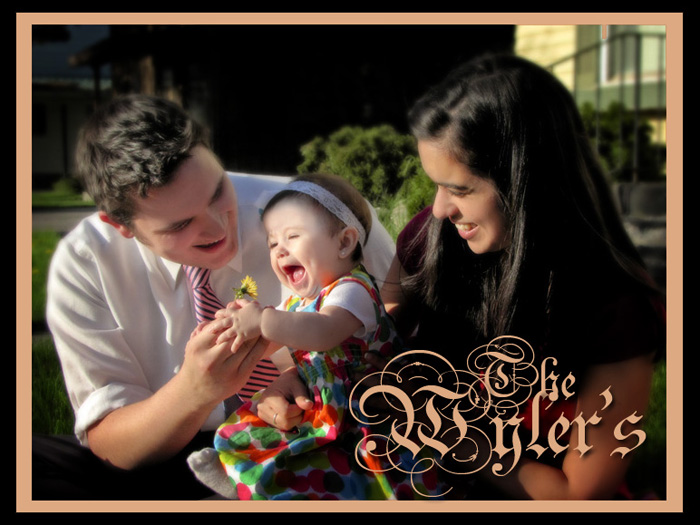
Flower Power:Group Activity
Front Yard at 35 S. 2nd E, Rexburg, Idaho; May 22, 2011, 7:22 p.m.
[Manual] F/3.5 SHUTTER: 1/1600 ISO 100 Canon Powershot SX120 IS
In Camera Raw I increased vibrance and blacks for greater contrast, and made some initial adjustments with the adjustment brush to smooth out some harsh shadows.
In Photoshop, I used a stronger airbrush (50 opacity/38 flow) to further soften hard shadows. I added a gaussian blur to increase Bokeh, which I masked out on the family. I left the some parts of the parents slightly blurred, intending to create a dreamy, ideal feel. It helps keep the focus on the faces and Mia’s joy.
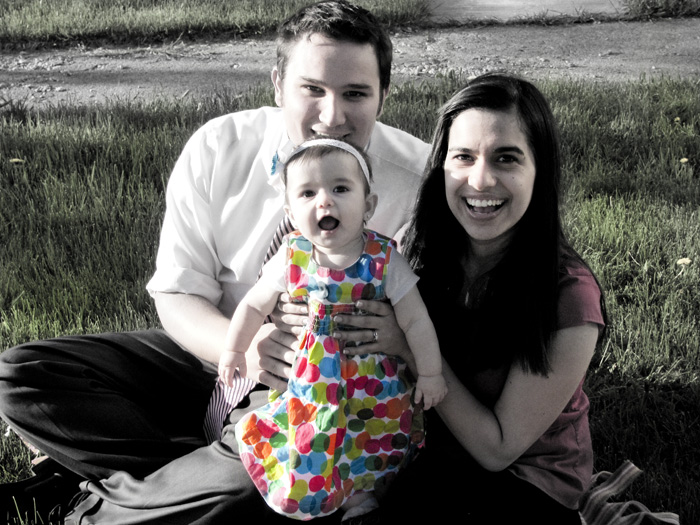
Stance: Group Posed
Front Yard at 35 S. 2nd E, Rexburg, Idaho; May 22, 2011, 7:23 p.m.
[Manual] F/3.5 SHUTTER: 1/1600 ISO 100 Canon Powershot SX120 IS
In Camera Raw I increased the vibrance, blacks and exposure so that when I ran a black and white smart filter over it in Photoshop, it gave me a high contrast. With a light brush, I masked back in some color in most of the picture. I brought Mia’s dress back in full, helping to keep the eyes on the family.
Discovery:Enviromental
Front Yard at 35 S. 2nd E, Rexburg, Idaho; May 22, 2011, 7:21 p.m.
[Manual] F/3.5 SHUTTER: 1/500 ISO 100 Canon Powershot SX120 IS
In Camera Raw I increased contrast and color through increasing vibrancy and blacks. In Photoshop, I airbrushed some of the shadows on Daniel and Mia’s faces. I finished with a Gaussian blur .


You must be logged in to post a comment.